How to Take Amazing Smartphone Pictures & How I Edit my Instagram Images


Have you ever been wowed by a picture on Instagram, and then feel stupefied to find it was taken on an Smartphone? A friend recently posted an exotic photo from his trip to Thailand and it was like a screensaver. I asked him what camera he was using these days and to my bemusement (and mild embarrassment) he said, 'on my phone'.
I've had plenty of friends tell that posting native shots on Instagram gets way more traction. I.E taking a picture of something on your phone, in the moment, rather than a professional image taken on a high-resolution camera that has been edited in Lightroom, cropped etc.
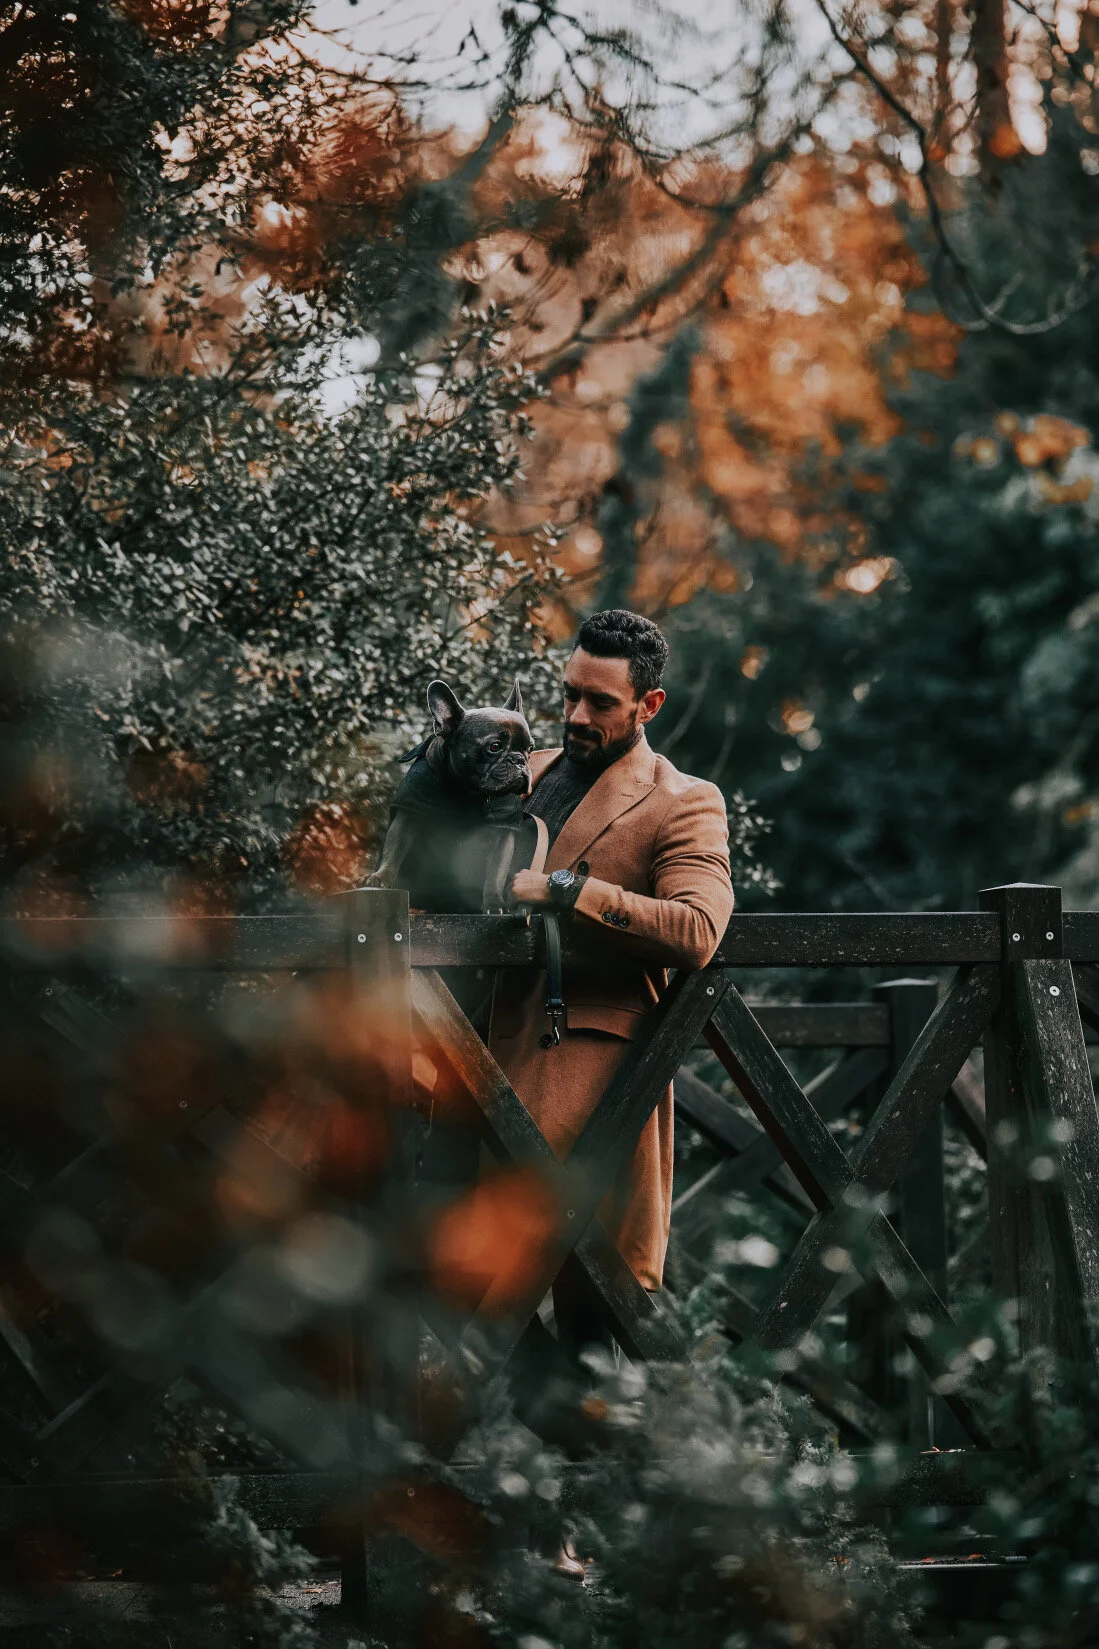
Someone that is on top of her game when it comes to making the most of the smartphone is Katrina Frazer, a pro-photographer known as the ‘Queen of light’. (That's a good name, sounds like the next fragrance from Beyonce).
Along with the Nokia 7 plus, Katrina brings you her top tips for pro-style pics all from the tech in the palm of your hand.
Top Tips for Smartphone Pictures
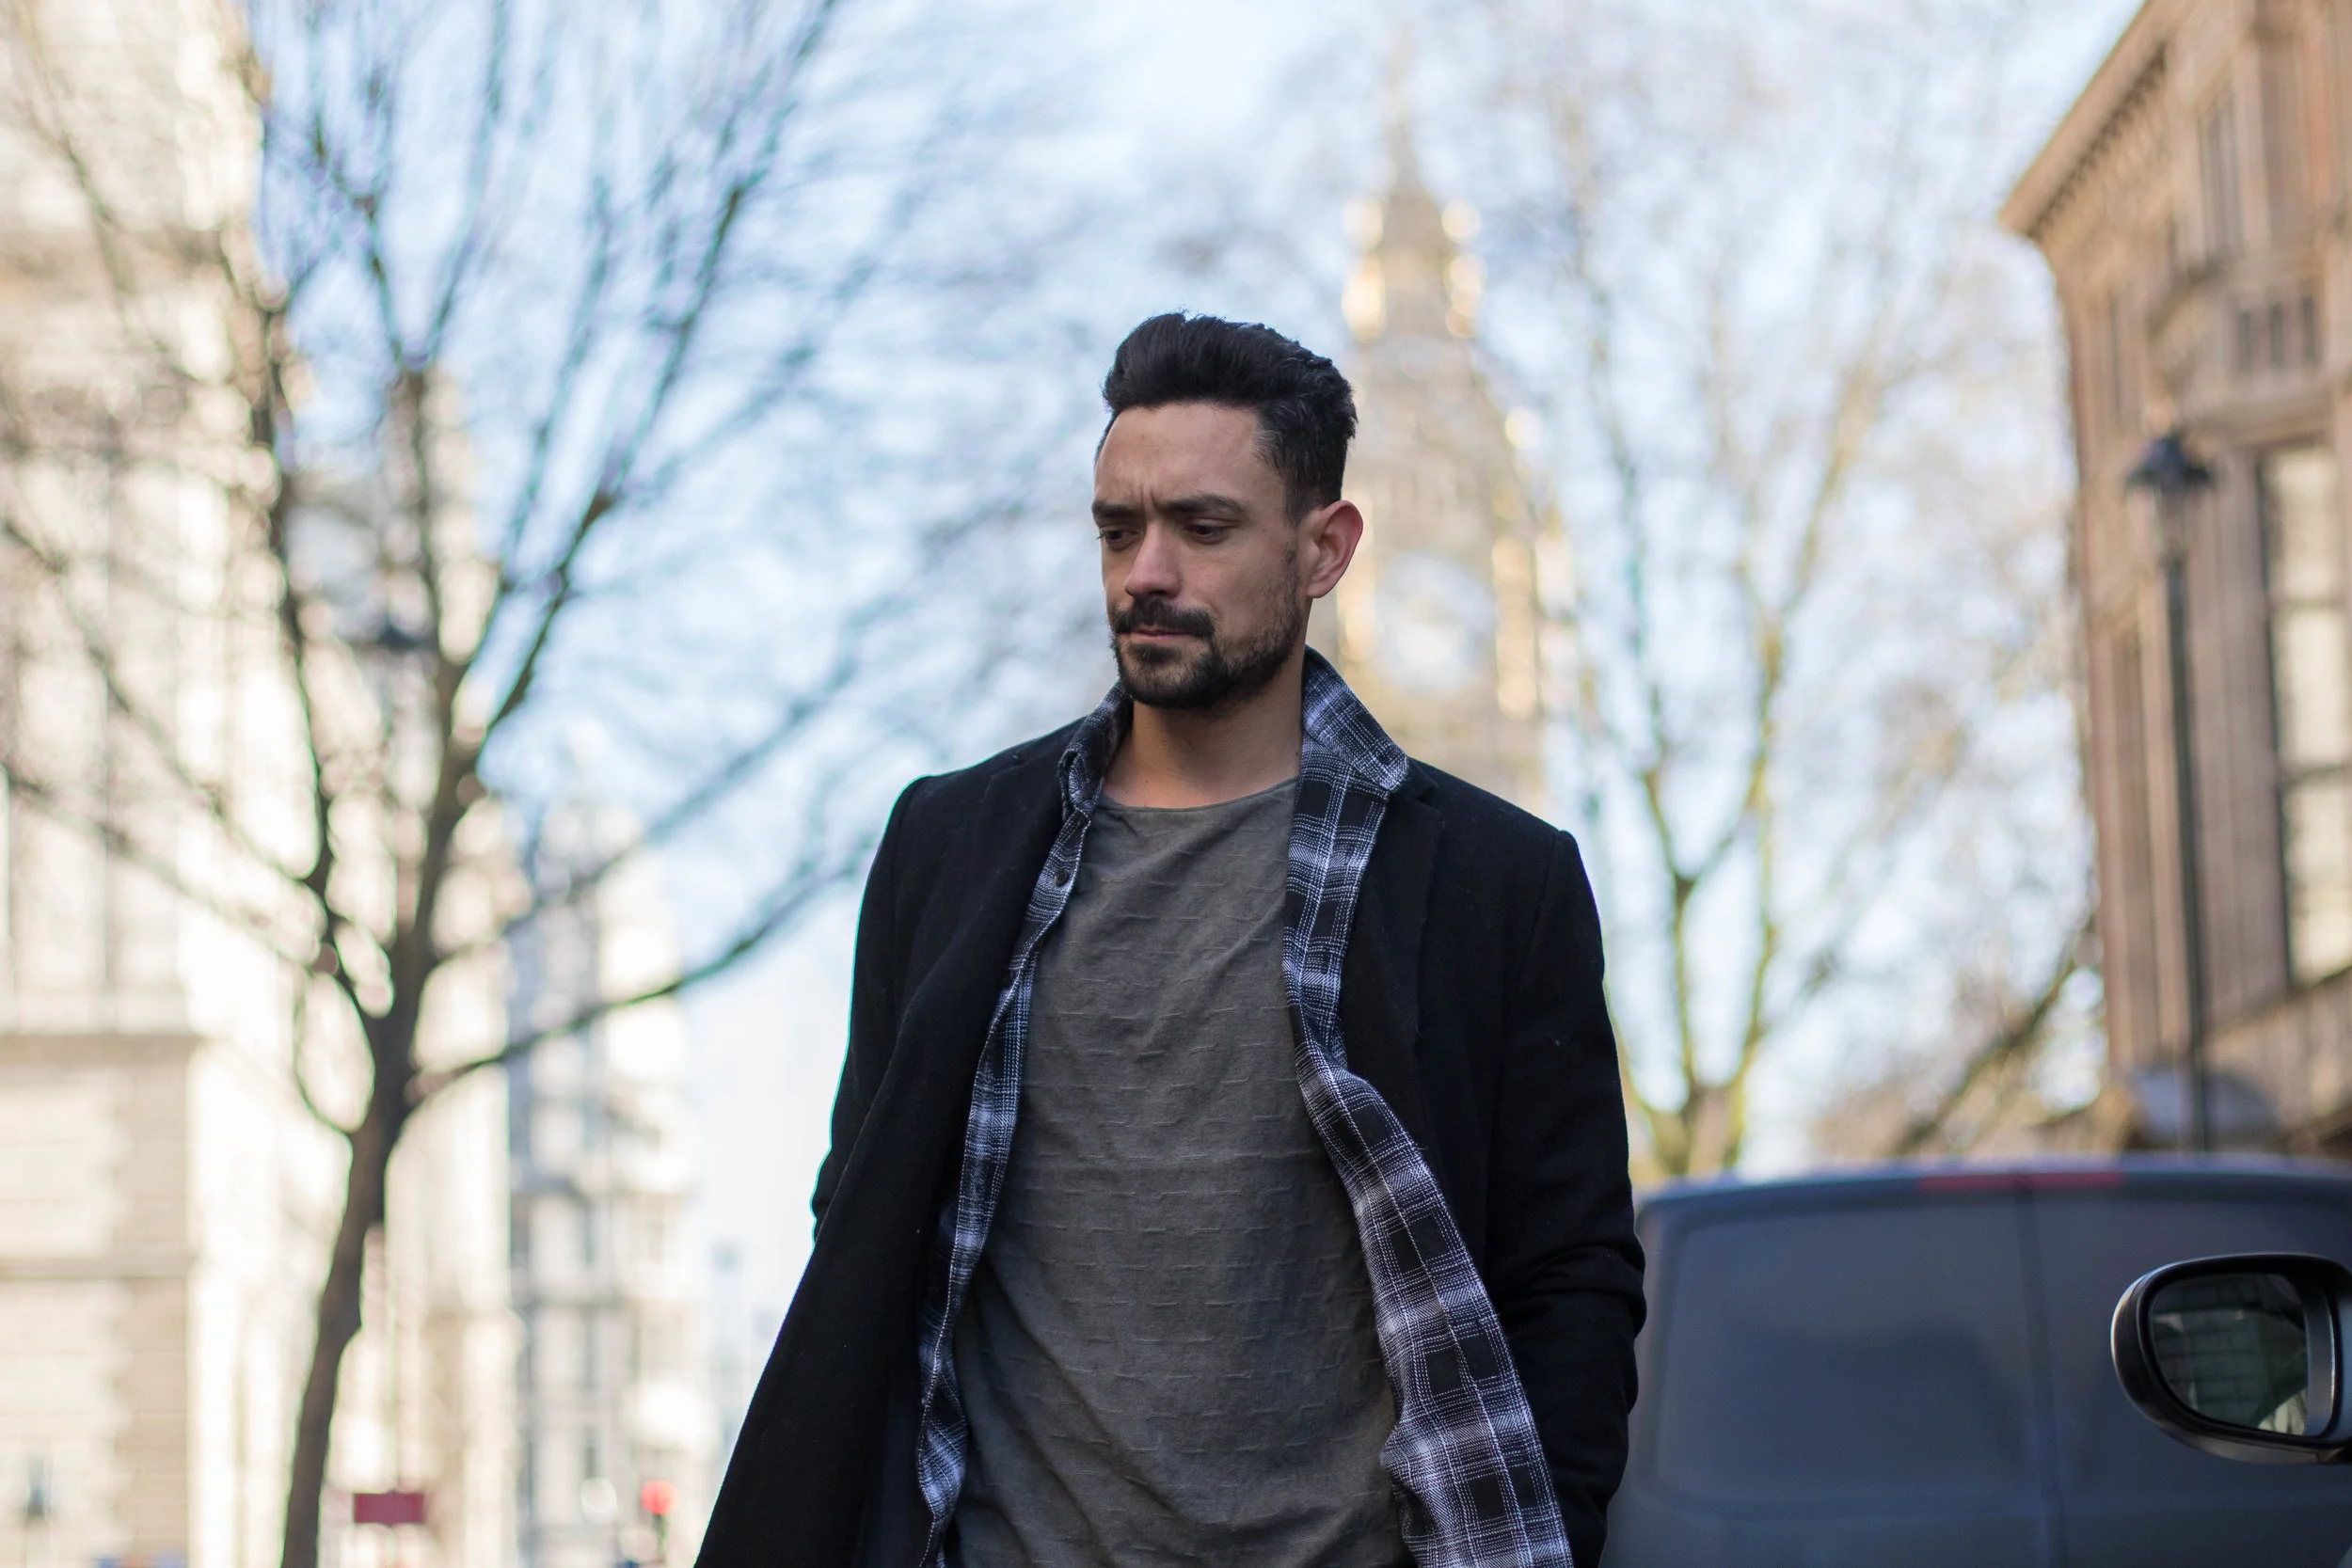
Play with the shutter speed. Taking great pictures at night is just a nightmare. Notice you don't see too many night time fashion shoots on the streets of London? Lighting a shot is a massive operation and isn’t as simple as just pointing and clicking.
To capture more detail, you need more light. A slow shutter speed keeps the camera lens open longer to let in more light.
* If you don’t have a tripod, try spreading your feet shoulder width apart and lean your back against a wall to create a tripod with your body
* If you have a desk/table/counter to lean on, plant both elbows on the platform - elbows should be wider than your shoulders
* Another way to steady a shaky hand is to take the picture as you slowly breathing out
Playing with shutter speed and movement in low light can help you create artistic effects.

Photo by Arthur Osipyan on Unsplash
ISO-what? While your smartphone camera auto-settings might work well enough, one simple way you can ensure pro shots is by playing with your camera’s ISO settings.
For the perfect portrait or selfie that brings out the contours and shading of a face it’s better to use a low ISO.
To make the most of the detail this setting allows, you should ideally try to position the subject in natural light, with the light focused on their face. In these circumstances, flash will kill the image so try to use the light available along with adjusted ISO settings to create pro-portraits.
Some smartphones allow you to manually change settings in your camera and play with ISO levels, shutter speeds and aperture – getting it right is sometimes a matter of trial and error!
Pro Mode on Nokia smartphones is the perfect interface to give you full manual control over all your camera settings. Available on its latest models including the photo-fab Nokia 7 plus, Pro Mode allows you to easily access manual settings in one swipe. Combining innovative optical hardware and imaging algorithms, the Nokia 7 plus captures moments into photos that are true to life. It’s optimised and integrated for maximum performance and battery life, even when you are broadcasting your #Bothie videos (videos taken using the front and back camera simultaneously to create a split screen image) live on Facebook or YouTube.
Available in Black/Copper, the Nokia 7 plus is available to buy for a RRP of £349.99.
Other smartphone tips for Instagram
Whilst I don't post many pictures from the smartphone (I would say that only 5% of my Instagram images are smartphone taken). I do post vids and snaps on the stories. Here are a couple of tips:
- When taking a photo, always try and leave space in the picture for some text, arrows and emoji’s.
- Always Geo-tag your location and tag someone that might enjoy the photo.
- If you're in London hashtag #VisitLondon. I find that the best tag for outreach on stories.

How I edit my photos for Instagram
I often get asked this and in all honesty I don't have a particular Lightroom preset or any template to use. What I tend to do is edit each photo individually but in a similar way to achieve my desired look and feel.
The first stage of a good Instagram image is an exceptional photographer who knows you and your style. My Instagram tends to be quite dark, shadowed, sharp, high contrast, simple colours and cool tones. So the first stage is to make sure your photographer knows your style, for me there is no point in getting professional images that have warm, pink, earthy tones to them because 1. It doesn't fit my feed and .2. If I then re-edit the image, I'll be pissing off the photographer and the quality of the image will deteriorate.
If I have time on my hands, I tend to use the RAW files and edit in Adobe Photoshop and Lightroom. Although this isn't always possible, so more often than not, I just use mobile apps to edit my images.
So if I only have 5 minutes to edit and post a photo to Instagram, this is what I'll do:
1. Transfer the photo to your smartphone. Make sure the transfer doesn't affect the resolution of the image.
2. Open the photo in the Facetune App. I ONLY use this app for the Details and Whiten features. I do not and will never ever edit my face, spots, greys, wrinkles etc. If there are any green trees or bushes, I'll use the whiten feature to grey them out slightly. I'll then use the same feature to whiten any tungsten, amber light or features. If there are any details in the image that I would like to sharpen and highlight, I use the 'details' feature to go over, such as a watch face or pocket square. Export the image.
3. Use the above exported image to post to Instagram. Use the custom editing tool and never a preset filter, to create your own style. Again, it depends on the image but here is roughly what settings I use to edit in Instagram:
- Brightness 0
- Contrast 0
- Structure +2
- Warmth -30
- Saturation 0
- Colour 0
- Fade 0
- Highlights 0
- Shadows -100
- Vignette +80
- Tilt Shift 0
- Sharpen +35
Trial it out and let me know what you think.
Founder of this eponymous blog, focusing on men's fashion & lifestyle.